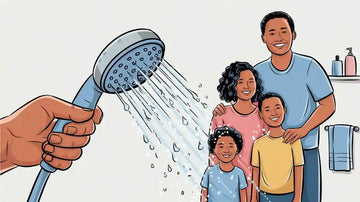
Replacing a shower arm with head can transform your bathroom into a more refreshing space. It’s a simple DIY project that doesn’t need advanced skills. With just a few tools and some helpful tips, you’ll have it done in no time. If you’ve ever wondered how to change a shower head, this is your chance to try it yourself. You’ll feel accomplished and enjoy the upgrade every day!
Key Takeaways
Get tools like a wrench, plumber's tape, and soft cloth. These will help make replacing the shower arm and head easier.
Turn off the water supply first. This stops leaks or sprays while you work.
Check and clean the threads before adding the new shower arm and head. This helps it fit well and stops leaks later.
Tools and Materials for Installation
Changing your shower arm and head is simple with the right tools. Preparing ahead of time helps you avoid problems and makes the job easier.
Basic Tools You’ll Need
You don’t need fancy tools to replace a shower arm and head. Just a few simple items will work:
Adjustable wrench: Loosens and tightens the shower arm without harm.
Plumber’s tape: Seals threads to stop leaks from happening.
Soft cloth or rag: Protects the shower arm’s surface while you work.
Pipe wrench or pliers: Removes old parts, but use gently to avoid scratches.
Bucket or towel: Catches water drips to keep your area dry.
These tools are cheap and easy to find at hardware stores. They’ll help you finish the job quickly and easily.
Extra Tools for Tough Jobs
Sometimes, old parts are hard to remove. Extra tools can help in these cases. Here are some useful ones:
Tool Type |
What It Does |
|---|---|
Scrapers |
Cuts through old caulk with sharp blades. |
Knives |
Long-handled knives give better control for cutting. |
Specialized tools |
Tools with scrapers, blades, and edges for applying new caulk. |
Power tool attachments |
Electric blades that remove caulk fast. |
Liquid solvents |
Sprays that loosen caulk to make removal easier. |
These tools aren’t always needed but are helpful for stuck parts.
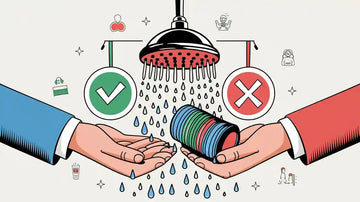
Materials to Prevent Leaks
Using good materials stops leaks and makes your installation last longer. Here are two great choices:
Material |
Waterproof Features |
Easy to Install? |
|---|---|---|
Laminate Wall Panels |
Waterproof with click-lock design and sealant |
Easy to install with sealant in corners |
Acrylic Shower Wall Panels |
Fully waterproof; mold risk only at sealant |
Easy but needs careful sealant use |
Spending more on quality materials now can save money later by avoiding water damage and repairs.
Removing the Old Shower Arm and Head
Replacing your shower arm and head starts with removing the old ones. This step is crucial to ensure a smooth installation process. Follow these simple steps to get started.
Turning Off the Water Supply
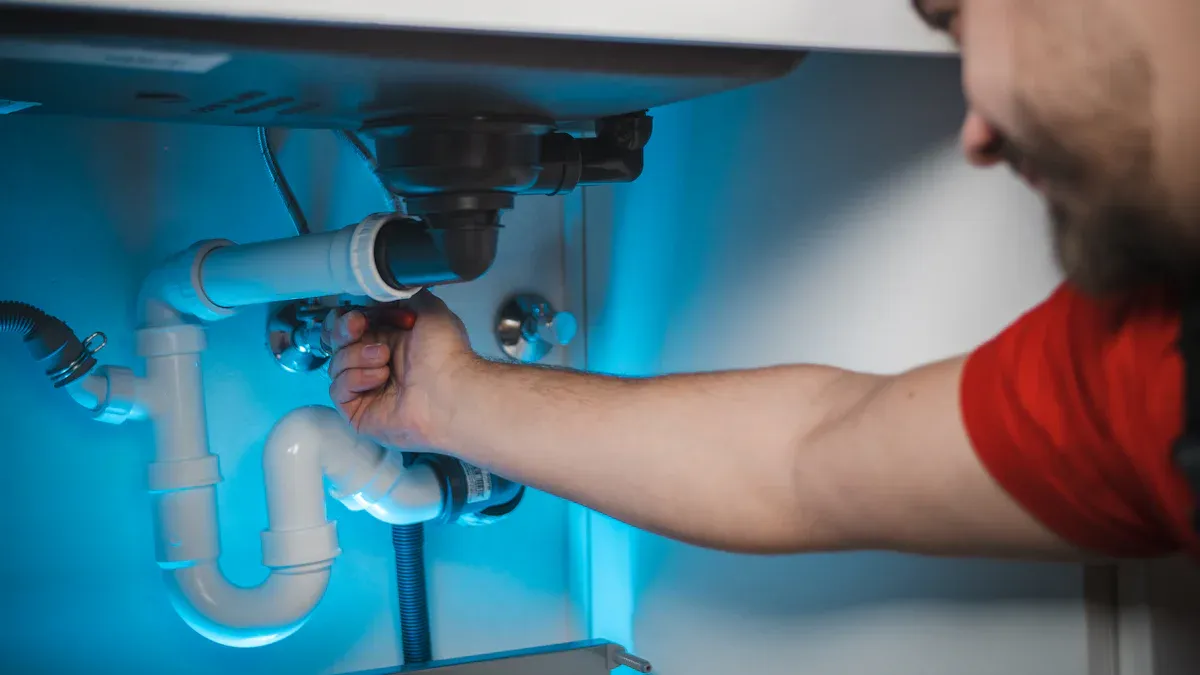
Before you begin, turn off the water supply to avoid unexpected sprays or leaks. If your shower doesn’t have a dedicated shut-off valve, turn off the main water supply for your home. This precaution keeps your workspace dry and prevents water damage.
Tip: Place a bucket or towel under the shower area to catch any residual water that might drip during the removal process.
Safely Unscrewing the Shower Head
Removing the shower head is easier than you think. Here’s how to do it safely:
Shut off the water supply to prevent sudden bursts.
Prepare the area by laying down protective sheets or towels to catch debris and protect surfaces.
Wrap the base of the shower head with a soft cloth before using a wrench. This prevents scratches and keeps the finish intact.
Use gentle techniques to loosen the shower head. Avoid applying excessive force to prevent damage.
If the shower head feels stuck, apply a lubricant like WD-40 around the threads. Wait for 30 seconds, then try again.
Pro Tip: If you’re wondering how to remove a shower head without damaging it, patience and gentle handling are key.
Removing the Shower Arm Without Damage
Once the shower head is off, it’s time to replace the shower arm. Follow these steps to remove it without harming the surrounding plumbing:
Start by Unscrewing by Hand: Grip the shower arm firmly and turn it counterclockwise. This avoids unnecessary force.
Use Pliers for Leverage: If the arm is stuck, hold it steady with pliers while turning the collar nut counterclockwise with an adjustable wrench.
Apply Lubricant: Spray a lubricant like WD-40 around the threads and wait for 30 seconds. This helps loosen stubborn parts.
Remove the Shower Arm: Turn the arm counterclockwise, applying lubricant if needed.
Note: Wrap a cloth around the shower arm before using tools to protect its finish.
If you notice visible plumbing, inspect it for leaks or damage. For galvanized pipes, twist off the old drop-ear elbow and replace it. For copper piping, consider hiring a plumber for soldered connections.
By following these steps, you’ll know exactly how to remove a shower head and replace a shower arm without causing damage. This sets the stage for a hassle-free installation of your new shower setup.
Cleaning and Preparing the Threads
Before installing your new shower arm and head, you need to clean and prepare the threads. This step ensures a secure fit and prevents leaks. Let’s walk through the process.
Removing Old Teflon Tape or Residue
Old Teflon tape or sticky residue can interfere with a proper seal. Removing it is simple if you follow these steps:
Gently peel off the old Teflon tape. Avoid ripping it to minimize leftover residue.
Use a wire brush or an old toothbrush to scrub the threads. This helps remove any sticky bits.
Soak a clean cloth in hot water, wrap it around the pipe, and twist it. This loosens stubborn residue.
Finish by wiping the threads with a dry cloth to remove moisture and debris.
Tip: If the residue feels tough, try soaking the cloth in vinegar instead of water. It works wonders on sticky buildup.
Inspecting Threads for Wear or Damage
Once the threads are clean, inspect them carefully. Damaged threads can cause leaks or make installation difficult. Here’s how you can check:
Look for visible deformities, such as flattened or worn-out areas.
Run your fingers over the threads to feel for rough or uneven spots.
Use a thread gauge to see if the threads engage smoothly.
If you notice significant damage, consider replacing the shower arm to avoid future issues.
Note: A quick visual inspection can save you from headaches later. Don’t skip this step!
Applying New Teflon Tape for a Watertight Seal
After cleaning and inspecting, it’s time to apply new Teflon tape. This step ensures a watertight seal and prevents leaks. Follow these tips for success:
Hold the shower arm steady and wrap the tape around the threads.
Wrap in the same direction as the threads to ensure a snug fit.
Apply 2-3 layers of tape, overlapping slightly to cover the threads completely.
Press the tape down gently to smooth it out.
Pro Tip: When applying Teflon tape, avoid overwrapping. Too much tape can make it hard to screw on the new shower arm securely.
By cleaning, inspecting, and applying Teflon tape, you’ll set the stage for a leak-free installation. These steps might seem small, but they make a big difference in the long run.
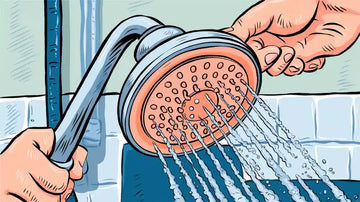
Installing the New Shower Arm with Head
Attaching the New Shower Arm Securely
Attaching the new shower arm is a straightforward process when you follow a few key steps. Start by inspecting and cleaning the threads inside the wall fitting. Any leftover debris or old tape can interfere with a secure connection. Once the threads are clean, wrap Teflon tape around the threads of the shower arm. Make sure to wrap it clockwise 2–3 times for a tight seal.
When you're ready to attach the shower arm, begin by hand-tightening it. This helps you avoid cross-threading, which can damage the threads and cause leaks. After hand-tightening, use an adjustable wrench to secure the arm further. Place a soft cloth between the wrench and the shower arm to protect the finish from scratches. Once it's firmly in place, turn on the water to test for leaks. If you notice any, tighten the connections slightly until the leaks stop.
Tip: Always double-check the alignment of the shower arm before fully tightening it. A misaligned arm can make the next steps more challenging.
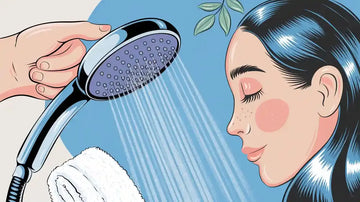
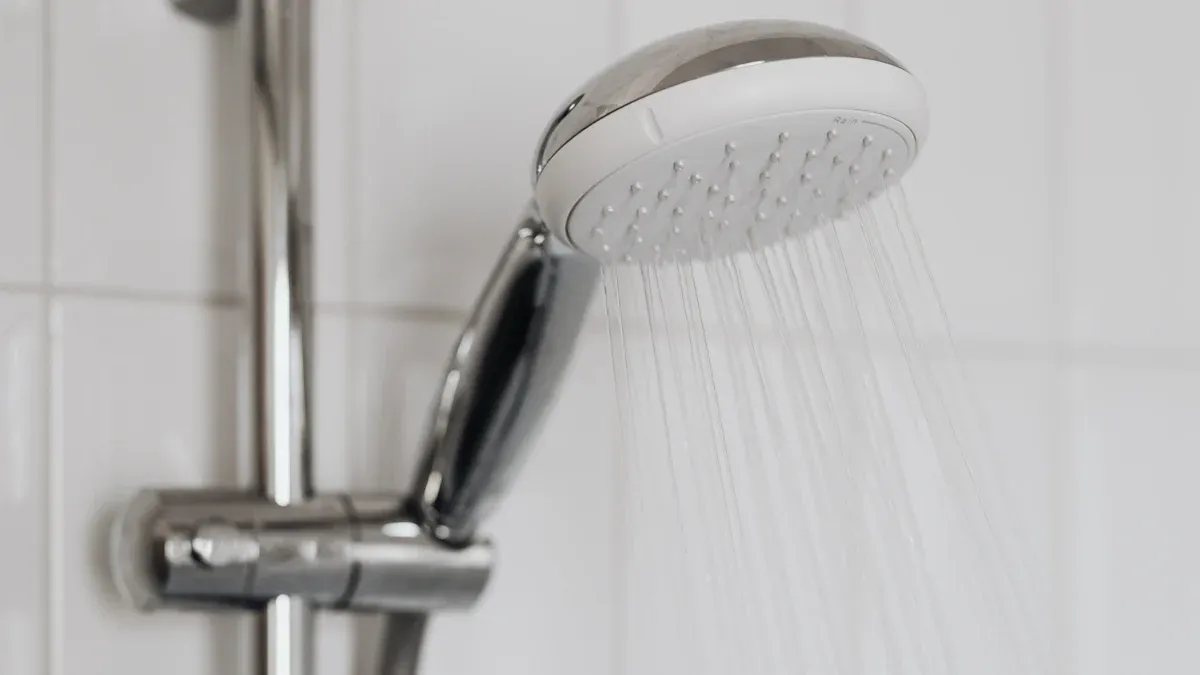
Properly Securing the Shower Head
Securing the shower head is just as important as attaching the arm. A properly installed shower head ensures optimal performance and prevents leaks. Before you begin, read the instructions that come with your shower head. This will give you a clear idea of how to set it up quickly and easily.
Apply plumber’s tape to the threads of the shower arm where the shower head will attach. This creates a watertight seal and keeps the head securely in place. Screw the shower head onto the arm by hand, turning it clockwise. Once it's snug, use a wrench to tighten it slightly. Again, use a soft cloth to protect the finish.
Here’s a quick look at what makes a shower head installation successful:
Metric |
Description |
|---|---|
How simple it is to set up the shower head and if leaks occur. |
|
Performance |
Spray strength, comfort, and ease of adjusting settings. |
Long-term Durability |
Resistance to wear and ease of cleaning after months of use. |
Pro Tip: Choose a shower head with universal fittings, like the Cobbe DS Filter Shower Head, to ensure compatibility with most shower arms.
Aligning the Shower Arm and Head Correctly
Proper alignment is the final step in changing a shower head and arm. Misalignment can affect the water flow and make your shower look uneven. To align the shower arm, adjust it so that the open end points downward at a slight angle. This ensures the water flows directly into the shower area.
Once the arm is aligned, check the position of the shower head. It should face straight down or slightly forward, depending on your preference. If the head has adjustable settings, test them to make sure they work smoothly. Adjust the angle as needed to achieve the best water flow and pressure.
Note: If you're installing a new shower head like the Cobbe DS Filter Shower Head, take advantage of its five spray modes. Test each mode to find the one that suits your mood and needs.
By following these steps, you’ll complete the installation process with ease. Whether you’re upgrading to a luxurious model or simply replacing an old one, knowing how to change a shower head and arm will make the task feel effortless.
Testing for Leaks and Ensuring Functionality
Turning the Water Back On
After finishing the installation, turn the water back on. Make sure all faucets in your house drain properly. Remove any filters or aerators from the faucets first. Start with the cold-water handles, turning them on one at a time. Begin on the lowest floor and move to the highest. Let the water run until it’s clear and the temperature is steady. Then, turn off the faucets in reverse order. Repeat this process for the hot-water handles. This step clears out your plumbing system and gets it ready.
Tip: Flushing the system removes dirt or debris from installation.
Checking for Leaks Around the Threads
Once the water is back on, check for leaks around the threads. Look closely for water dripping or pooling near the connections. If you see a leak, tighten the threads gently with an adjustable wrench. Don’t overtighten, as it could damage the threads. For stubborn leaks, wrap new Teflon tape around the threads for a better seal.
Pro Tip: Use soapy water to find leaks. Bubbles mean there’s a leak.
Adjusting for Optimal Water Flow and Pressure
Finally, test the water flow and pressure to ensure everything works well. Turn on the shower and try all the spray settings if available. Adjust the shower head angle to aim the water where you want it. If the pressure feels weak, check the threads again to make sure they’re sealed tightly. A properly installed shower will give you a great experience.
By following these steps, you’ll confidently finish testing for leaks and functionality. Enjoy your improved shower!
Replacing a shower arm with head is a quick and satisfying DIY project. By following these steps, you’ll avoid leaks and misalignment while upgrading your bathroom. It’s amazing how a simple DIY task can transform your shower experience. So, grab your tools and enjoy the benefits of your new shower arm with head today! 🚿
FAQ
How do I know if my new shower head will fit my existing shower arm?
Most shower heads, like the Cobbe DS Filter Shower Head, use a universal ½-inch connection. Check your shower arm’s size to ensure compatibility.
Tip: Universal fittings make installation hassle-free!
Can I install a new shower head without turning off the water supply?
No, you should always turn off the water supply first. This prevents leaks or accidental sprays during installation.
How often should I replace the Teflon tape on my shower arm?
Replace the Teflon tape every time you install or adjust the shower arm. Fresh tape ensures a watertight seal and prevents leaks.
Pro Tip: Wrap the tape clockwise for the best results!