Upgrading your bathroom with a new shower arm with head can transform your daily routine. It’s not just about style—it’s also about efficiency. For instance, switching to a low-flow shower head can save a family of three up to 100,000 liters of water annually, cutting costs by $200. That’s a win-win!
Key Takeaways
Turn off the water first to stop leaks and messes.
Wrap thread seal tape to keep water from leaking out.
Check for leaks often after installing to save water and money.
Tools and Materials for Installation
Before starting, gather all the tools and materials. Being prepared saves time and makes the job easier. Here’s what you’ll need.
Tools You’ll Need
You don’t need many tools for this job. A few simple ones will work. Here’s the list:
Adjustable Wrench: Loosens and tightens the shower arm safely.
Plumber’s Tape (Thread Seal Tape): Stops leaks by sealing the threads.
Soft Cloth or Rag: Protects the shower arm’s finish while tightening.
Pipe Wrench or Pliers: Helps remove old fittings but use gently to avoid scratches.
Bucket or Towel: Catches any dripping water during the process.
For advanced setups, tools like the Kirb-Perfect system are helpful. It’s light, easy to adjust, and comes with how-to videos. Some users mentioned shipping problems, so check your kit first.
Feature |
Description |
|---|---|
Build a perfect shower curb |
Kirb-Perfect helps make shower curbs without using wood. |
Material |
Made of lightweight plastic that won’t rot. |
Compatibility |
Works with Quick Pitch System and is easy to cut. |
Customer Satisfaction |
69% of 13 reviews are positive, showing good feedback. |
Common Feedback |
Users like the videos and ease of use, but some had missing parts. |
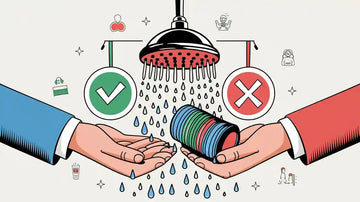
Materials for a Leak-Free Fit
Good materials are key to a proper installation. Use high-quality items to avoid leaks. Here’s what you’ll need:
Shower Arm Extender: Pick a durable one like the Cobbe DS Filter Shower Head.
Thread Seal Tape: Necessary for sealing threads and stopping leaks.
Replacement Filters: Keep extras if using a filtered shower head.
Look for certified materials to ensure quality. These certifications help:
IAPMO R&T Certification: Meets plumbing code standards.
ASSE Certification: Ensures safe plumbing and prevents backflow.
WaterSense: Approves water-saving products with good performance.
CEC Registration: Controls water flow to save water.
NSF Certification: Ensures no harmful chemicals in components.
CSA Certification: Confirms safety and performance across regions.
Using certified materials ensures no leaks and gives peace of mind. Your shower setup will meet top standards.
Step-by-Step Guide to Install Shower Head and Arm
Upgrading your bathroom with a new shower arm with head doesn’t have to be complicated. Follow this step-by-step guide to replace a shower arm and enjoy a refreshed shower experience.
Shut Off the Water Supply
Before you begin, turn off the water supply to avoid any unexpected mess. This simple step prevents leaks and ensures a smooth installation process.
Did you know? Water damage is one of the most common homeowner insurance claims. You’re seven times more likely to experience water damage than fire damage and six times more likely than a burglary. Shutting off the water supply is a small action that can save you from big problems later.
Locate the water shut-off valve, usually near your bathroom or in the basement. Turn it clockwise until it stops. If you’re unsure, test the shower to confirm the water is off.
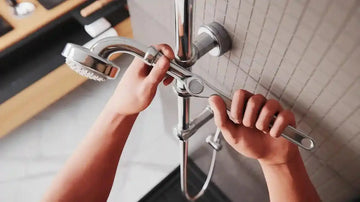
Remove the Old Shower Arm and Head
Now it’s time to remove the old showerhead and arm. Here’s how you can do it:
Use your hands to remove the showerhead by twisting it counterclockwise. If it’s stuck, grab a wrench or pliers for extra grip.
Once the showerhead is off, clean the threads on the old shower arm. This makes it easier to unscrew.
Unscrew the shower arm by turning it counterclockwise. Use a wrench if needed, but be gentle to avoid damaging the pipe inside the wall.
Removing the old parts carefully ensures the new adjustable shower arm fits securely.
Clean the Threads and Surrounding Area
After removing the old shower arm, inspect the threads inside the wall. Wipe away any debris, old plumber’s tape, or rust using a soft cloth. A clean surface ensures a tight seal when you install the new shower arm.
Tip: If you notice any damage to the threads, consider consulting a professional plumber to avoid further issues.
Apply Thread Seal Tape for a Watertight Seal
Thread seal tape, also known as plumber’s tape, is essential for a leak-free installation. Wrap the tape around the threads of the new shower arm extender. Here’s how:
Wrap the tape clockwise 3-4 times around the threads. For galvanized pipes, use 5-6 wraps.
Smooth the tape with your fingers to ensure it adheres properly.
This tape creates a watertight seal, preventing leaks and ensuring your shower arm with head stays secure.
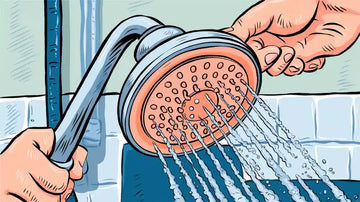
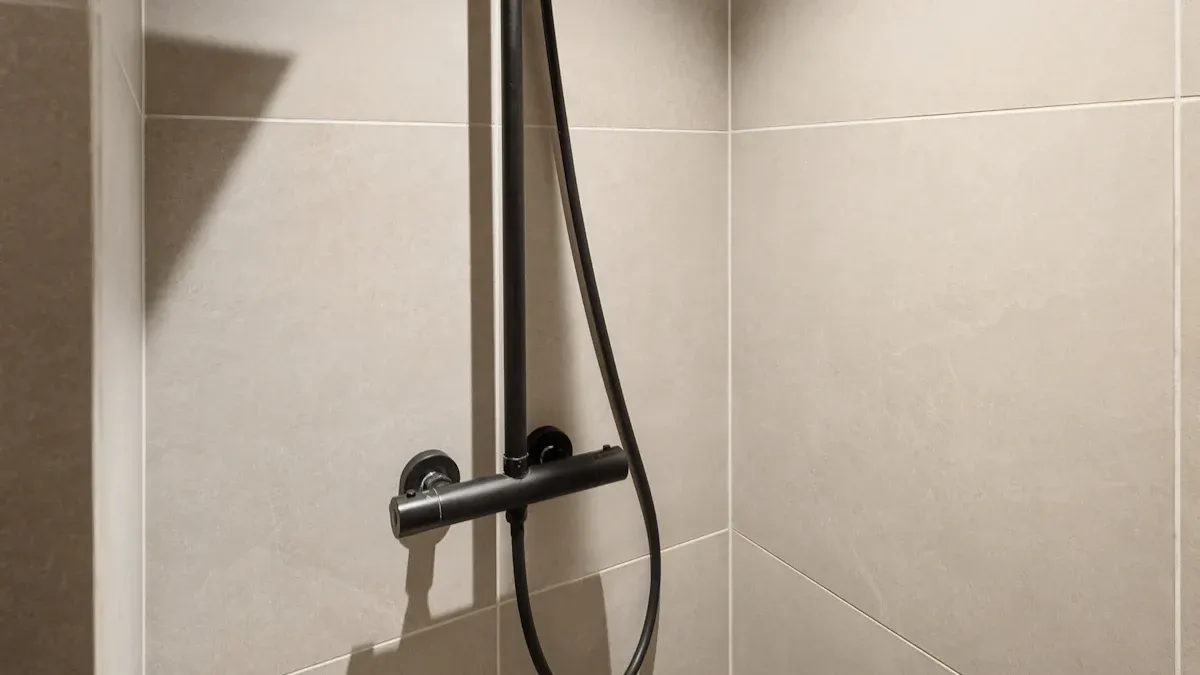
Install the New Shower Arm
Now it’s time to install the new shower arm. Follow these steps for a secure fit:
Identify the end of the shower arm that threads into the wall.
Hand-tighten the arm into the wall fitting, ensuring it’s straight and not cross-threaded.
Use a wrench to tighten the arm further, but don’t overdo it. Two or three turns should suffice.
Pro Tip: Over-tightening can damage the threads or the pipe inside the wall. Stop when the arm feels snug.
Attach the Shower Head
Once the shower arm is in place, it’s time to install the shower head. If you’re using a Cobbe DS Filter Shower Head, you’re in for a treat. Its advanced filtration system and five spray modes will elevate your shower experience.
Screw the showerhead onto the arm by hand.
Tighten it gently with a wrench if needed, but use a soft cloth to protect the finish.
Description |
|
|---|---|
Spray force |
Ensures sufficient pressure for user satisfaction. |
Spray coverage |
Assesses distribution to ensure adequate coverage over the bather. |
Pressure compensation |
Guarantees minimum flow across varying household water pressures. |
Test for Leaks and Adjustments
Turn the water supply back on and test for leaks. If you notice any dripping, tighten the connections slightly. Adjust the showerhead to your preferred angle and test the spray modes to ensure everything works perfectly.
Note: To verify the installation, measure the water flow rate and ensure it meets your expectations. A properly installed shower arm with head should provide consistent pressure and coverage.
Congratulations! You’ve successfully replaced a shower arm and installed a new shower head extender arm. Enjoy your upgraded shower experience.
Pro Tips to Change a Shower Arm Successfully
Ensuring a Secure Fit
Getting a secure fit is all about precision. When you install the new shower arm, make sure the threads align perfectly with the wall fitting. Cross-threading can lead to leaks or even damage the pipe. Hand-tighten the arm first to ensure it’s straight, then use a wrench for a snug fit.
Tip: Wrap a soft cloth around the shower arm before using a wrench. This prevents scratches and keeps the finish looking brand new.
Also, don’t forget to use thread seal tape. It’s a small step that makes a big difference in preventing leaks. Wrap it tightly around the threads in the same direction you’ll screw in the arm.
Avoiding Common Mistakes During Installation
Mistakes happen, but you can avoid the most common ones with a little care. Over-tightening is a big no-no. It might seem like a good idea, but it can crack the pipe or damage the threads. Stop tightening as soon as the arm feels secure.
Another common mistake is skipping the cleaning step. Old plumber’s tape or debris can prevent a proper seal. Take a moment to clean the threads and surrounding area before installing the new arm.
Did you know? Using the wrong tools can also cause issues. Always use an adjustable wrench or pliers with a soft grip to avoid damaging the fittings.
When to Seek Professional Help
Sometimes, it’s best to call in a pro. If you notice damaged threads, rusted pipes, or leaks that won’t stop, a plumber can save you time and frustration. They have the tools and expertise to handle tricky situations.
Pro Tip: If you’re upgrading to a more complex system, like a filtered shower head with advanced features, professional installation ensures everything works perfectly.
Changing a shower arm is usually a simple task, but knowing when to ask for help can save you from costly repairs later.
Putting in a shower arm with a head is easy. It gives your bathroom a fresh look and works better too. Always check for leaks to avoid wasting water.
-
Leaks can waste:
10,000 gallons of water every year in most homes.
More than 500 gallons a year from a dripping showerhead.
Checking for leaks helps save water and money! 🚿
FAQ
How often should you change the filter in a Cobbe DS Filter Shower Head?
Change the filter every 2-3 months for best results. You can buy replacement filters on Cobbe’s website.
Can you set up the Cobbe DS Filter Shower Head by yourself?
Yes, it’s simple to set up. Use the steps in the guide above for an easy installation.
Does the Cobbe DS Filter Shower Head help save water?
Yes! It has a flow restrictor that uses less water but keeps strong pressure. It’s great for saving water and still having a powerful shower. 🚿