Are you thinking about upgrading your shower setup? Learning how to install a shower arm is a simple home improvement task that can transform your bathroom. Whether you're replacing an old fixture or starting fresh, this step-by-step guide will help you get it done quickly. You’ll learn how to replace a shower arm with head and install fixed shower head options like a pro. With just a few tools and a little patience, you can enjoy a stylish, leak-free result.
Key Takeaways
Get tools like a wrench, Teflon tape, and a cloth first. Being ready saves time and makes the job easier.
Turn off the water before starting any plumbing work. This stops leaks and keeps your home safe from water damage.
Clean the old shower arm threads well before adding a new one. This helps it fit tightly and stops leaks.
Wrap Teflon tape around the threads of the shower arm and showerhead. This keeps water from leaking out later.
After you're done, turn on the water to check for leaks. Fix anything loose to make sure it's all secure.
Tools and Materials Needed
Before you start replacing your shower arm and head, it’s important to gather your tools and materials. Having everything ready will make the process smoother and save you time.
Essential Tools for the Job
You don’t need a lot of fancy equipment to get started. Here’s a list of the basic tools required to change a shower arm:
Adjustable wrench: Helps you loosen and tighten the shower arm and head.
Teflon tape: Also called plumber’s tape, this ensures a tight, leak-free seal.
Rag or cloth: Protects the finish of your fixtures while you work.
Bucket: Catches any water that might drip during the process.
These tools are easy to find and essential for a successful installation. If you’re missing any, you can pick them up at your local hardware store.
Materials to Ensure a Leak-Free Installation
To avoid leaks, you’ll need a few specific materials. First, use Teflon tape to wrap the threads of the shower arm. This creates a watertight seal. You might also consider using plumber’s compound for added security. It’s a paste that helps prevent leaks and ensures a snug fit.
When installing the shower arm, make sure the wall fitting is clean and free of debris. This step is crucial for a proper seal. If you’re using a product like the Cobbe DS Filter Shower Head, its design makes installation even easier, as it fits most standard systems.
Optional Tools for Convenience
While not absolutely necessary, these tools can make the job easier:
Pipe wrench: Offers extra grip for stubborn fittings.
Step stool: Helps you reach higher shower arms without straining.
Flashlight: Useful if your bathroom lighting isn’t bright enough.
These optional tools can save you effort and make the steps feel less overwhelming. If you’re working in a dimly lit space or dealing with tight fittings, they’re worth considering.
Pro Tip: Before you begin, test the shower drain for proper water flow. Insert a test plug, fill the shower to just below the flood level, and wait four hours. Check for leaks and repair if needed. This ensures your shower setup is in top shape.
By taking the time to gather your tools and materials, you’ll set yourself up for a smooth and stress-free installation.
Step 1: Turn Off the Water Supply
Before starting, make sure to turn off the water. This step is very important to stop leaks or flooding. It also protects your plumbing system from damage.
Find the Water Supply Valve
Your first job is to find the water valve. Most homes have valves near the water meter or under sinks. In bathrooms, check behind the toilet or under the vanity. Sometimes, you may need to shut off the main house water supply.
Here’s a tip: If you can’t find the valve, look for a round or lever handle on a pipe. Companies like Zurn and Flomatic Valves make valves that are easy to use. These valves come in different sizes and handle high pressure. They are common in home plumbing systems.
Manufacturer |
Product Types |
Features |
Uses |
|---|---|---|---|
Zurn |
Sensor flush valves, pressure reducing valves |
Hydropowered, Pressure reducing |
Commercial plumbing, Hospitals |
Flomatic Valves |
Air release valves, butterfly valves |
Certified, Meets standards |
Water systems, Irrigation |
Once you find the valve, turn it clockwise to close it. The water stops when the handle won’t turn anymore.
Why Turning Off Water Matters
Turning off the water isn’t just helpful—it’s necessary. If you leave the water on, it can cause leaks or flooding. This might damage your walls, floors, or pipes, leading to expensive repairs.
There’s also a health reason. Still water in pipes can grow bacteria like Legionella, which is harmful. The CDC says to flush pipes with still water before using them again. Turning off the water helps avoid these problems and keeps the process safe.
Safety Tip: Test the valve before starting. Turn it off and check if water stops flowing. This quick check can prevent surprises during your work.
Taking time to turn off the water ensures a safe and smooth shower arm replacement. It’s a small but important step.
Step 2: Remove the Old Shower Head
Removing the old shower head is a crucial step before you replace a shower arm or install a new fixture. With the right approach, you can avoid damaging your plumbing or fixtures. Let’s break it down.
Loosening the Shower Head Safely
Start by trying to unscrew the shower head by hand. Grip it firmly and turn it counterclockwise. If it doesn’t budge, don’t worry—this is common, especially if it’s been in place for a long time.
Here’s a step-by-step method to safely remove the showerhead:
Try Unscrewing by Hand: Always start with this method to avoid unnecessary force.
Use Pliers for Leverage: If the shower head is stuck, grab a pair of pliers to hold the shower arm steady. Then, use an adjustable wrench to turn the collar nut counterclockwise.
Apply Lubricant: If it’s still stubborn, spray a lubricant like WD-40 around the threads. Wait for about 30 seconds to let it work its magic.
Remove the Shower Arm (if needed): If the shower head still won’t come off, consider removing the entire shower arm. Turn it counterclockwise, applying lubricant if necessary.
Pro Tip: Wrap a cloth around the shower arm or head before using tools. This protects the finish from scratches or damage.
Once the shower head is off, you’re ready to move on to the next step.
Cleaning the Threads for a Fresh Start
After you remove the showerhead, take a moment to inspect the threads on the shower arm. Over time, mineral deposits, old Teflon tape, or plumber’s compound can build up, making it harder to install a new fixture.
Here’s how to clean the threads effectively:
Use a damp cloth to wipe away any loose debris.
If there’s stubborn residue, grab a soft-bristle brush or an old toothbrush. Gently scrub the threads to remove buildup.
For extra cleaning power, mix a little vinegar with water and apply it to the threads. This helps dissolve mineral deposits.
Once the threads are clean and smooth, wrap them with fresh Teflon tape. This ensures a tight seal when you install the new shower head.
Quick Tip: Wrap the Teflon tape clockwise around the threads. This prevents it from unraveling when you screw on the new fixture.
By taking the time to clean the threads, you’ll set the stage for a secure and leak-free shower head replacement.
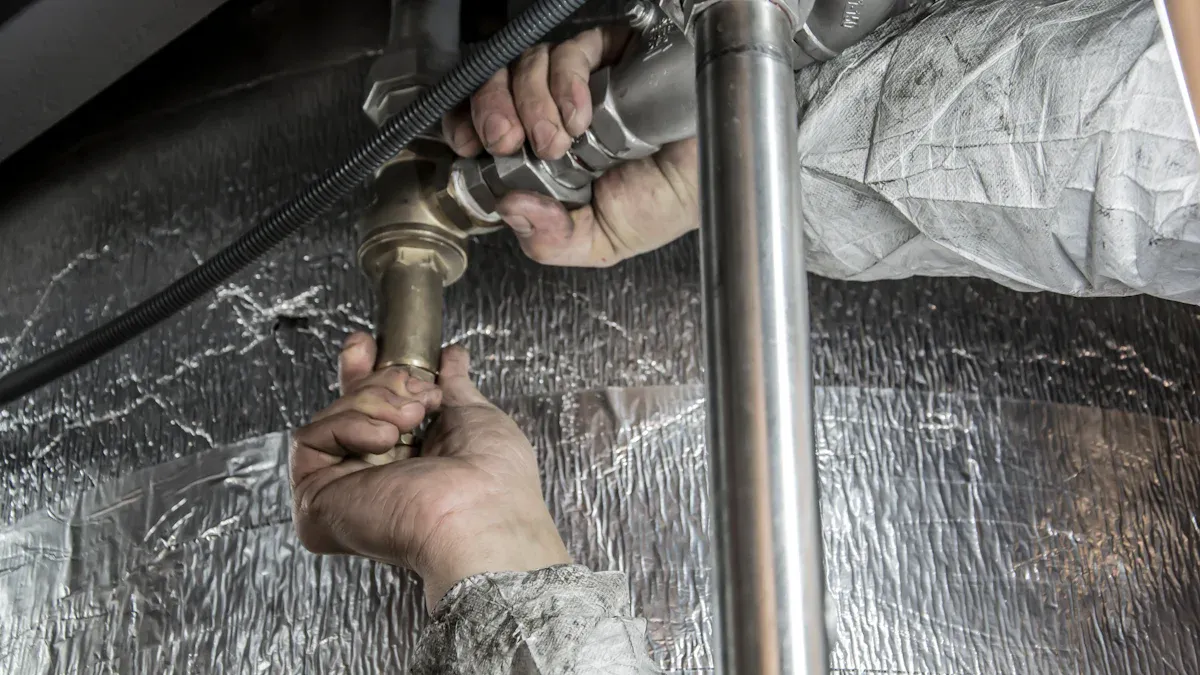
Step 3: Replace a Shower Arm
Replacing a shower arm might seem tricky, but with the right approach, you can handle it like a pro. This step focuses on removing the old arm and preparing the wall fitting for the new one.
Unscrewing the Old Shower Arm
Start by removing the old shower arm. If you’ve already taken off the showerhead, you’re halfway there. Here’s how to unscrew the existing shower arm:
Shut off the water: Make sure the water supply is completely off to avoid any mess.
Clean the existing shower arm: Wipe away any dirt, mold, or mineral buildup around the arm. This makes the removal process smoother.
Grasp the arm firmly: Use an adjustable pipe wrench or pliers to hold the arm securely. Wrap a cloth around it first to protect the finish.
Turn counterclockwise: Twist the arm gently but firmly. If it’s stuck, apply a metal lubricant like WD-40 and wait a few minutes before trying again.
Rust or corrosion can make this step challenging. If the arm doesn’t budge, don’t force it. Instead, apply more lubricant and try again later. Once you remove the old shower arm, inspect the threads for damage or wear.
Quick Tip: If you’re dealing with a wall mounted shower arm, use a flashlight to check for rust or debris inside the fitting. This ensures a clean installation later.
Inspecting and Preparing the Wall Fitting
After you remove the old shower arm, take a closer look at the wall fitting. This part connects the arm to your plumbing system, so it needs to be in good shape.
Check for debris: Use a damp cloth or brush to clean the fitting. If you spot rust or mineral deposits, apply a vinegar solution to dissolve them.
Inspect for damage: Look for cracks or worn threads. If the fitting is damaged, you may need to replace it before installing the new arm.
Wrap with Teflon tape: Once the fitting is clean, wrap the threads with plumbing tape. This creates a watertight seal and prevents leaks.
Proper preparation is key to a secure installation. By taking the time to inspect and clean the fitting, you’ll avoid common issues like leaks or misalignment.
Pro Tip: When working with a wall mounted shower arm, align the new arm carefully to ensure it fits snugly into the fitting. Misalignment can lead to leaks or uneven water flow.
Replacing a shower arm doesn’t have to be complicated. With these steps, you’ll be ready to install the new arm and enjoy a refreshed shower setup.
Step 4: Install the New Shower Arm
Now that you’ve removed the old shower arm and prepped the wall fitting, it’s time to install the new one. This step is all about ensuring a secure and leak-free connection. Let’s dive in!
Applying Teflon Tape for a Tight Seal
Before attaching the new shower arm, you need to apply Teflon tape to the threads of the wall fitting. This simple step helps create a watertight seal and prevents leaks. Here’s how you can do it:
Start with clean threads: Make sure the threads on the wall fitting are free of debris or old tape. Use a damp cloth to wipe them down if needed.
Wrap the tape clockwise: Hold the Teflon tape firmly and wrap it around the threads in a clockwise direction. This ensures the tape stays in place when you screw in the shower arm.
Use three to four wraps: Wrap the tape around the threads three to four times. This is usually enough to seal the shower connection without overdoing it.
Pro Tip: Avoid overlapping the tape too much. Keep it smooth and even for the best results.
Teflon tape, also known as plumbing tape, is a must-have for this step. It’s designed to fill in tiny gaps between the threads, ensuring a tight fit. Skipping this step could lead to leaks, so don’t overlook it!
Securing the Shower Arm in Place
Once you’ve applied the Teflon tape, you’re ready to install the new shower arm. Follow these steps to secure it properly:
Align the shower arm: Position the new shower arm so that the threads line up with the wall fitting. Take your time to ensure it’s straight.
Screw it in by hand: Begin turning the shower arm clockwise by hand. This helps you avoid cross-threading, which can damage the fitting.
Tighten with a wrench: Once the arm is hand-tight, use an adjustable wrench to give it an extra turn. Wrap a cloth around the arm to protect its finish while tightening.
Check the alignment: Make sure the shower arm is pointing in the right direction. Adjust it slightly if needed, but don’t overtighten.
Quick Tip: If you’re installing a product like the Cobbe DS Filter Shower Head, its universal design makes this step even easier. It fits most standard shower systems, so you won’t have to worry about compatibility.
By taking your time and following these steps, you’ll ensure the new shower arm is securely in place. A properly installed arm not only looks great but also prevents leaks and ensures smooth water flow.
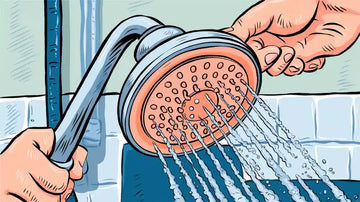
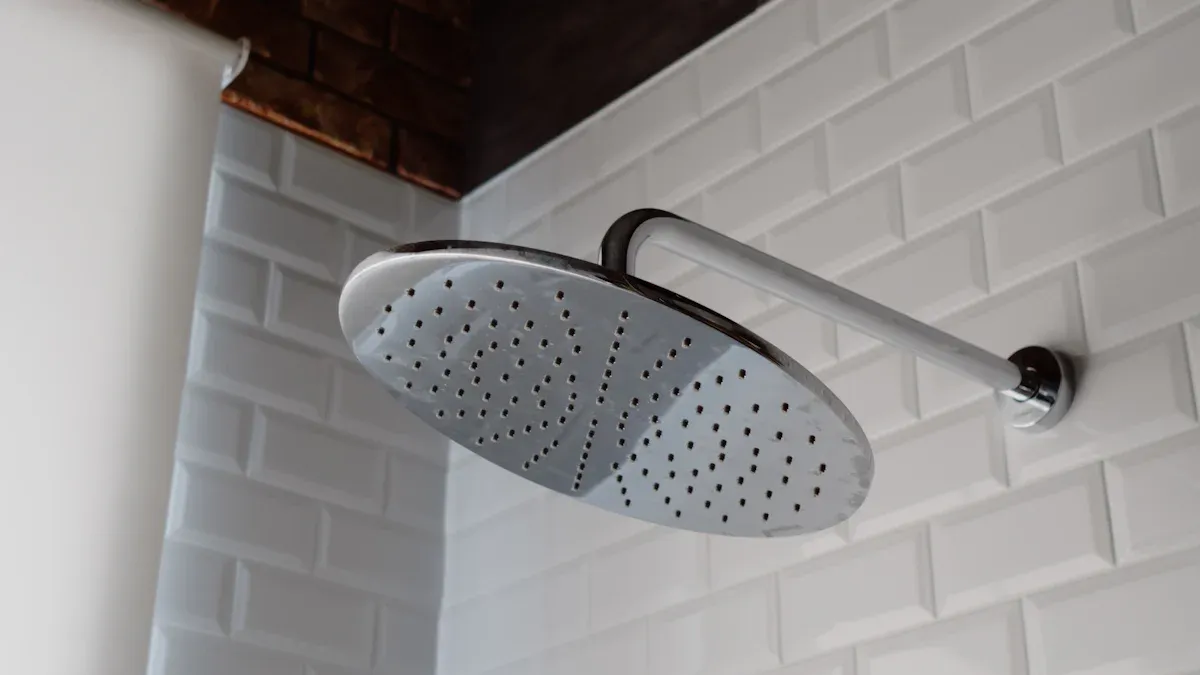
Step 5: Attach the Showerhead
Now that your new shower arm is securely in place, it’s time to attach the showerhead. This step is straightforward, but a little attention to detail will ensure a snug fit and a leak-free connection.
Aligning and Tightening the Showerhead
Start by aligning the showerhead with the threads on the shower arm. Hold the showerhead in one hand and position it so the threads match up perfectly. This alignment is key to avoiding cross-threading, which can damage the threads and make future adjustments difficult.
Once aligned, screw the showerhead onto the shower arm by turning it clockwise. Begin tightening it by hand. You’ll feel it start to grip as the threads engage. Keep turning until it feels snug. Avoid over-tightening at this stage, as you’ll make final adjustments later.
If you’re installing a product like the Cobbe DS Filter Shower Head, you’ll find this process even easier. Its universal design fits most standard shower arms, so you won’t have to worry about compatibility. Plus, its lightweight construction makes handling a breeze.
Pro Tip: Use a soft cloth or rag to hold the showerhead while tightening. This protects the finish from scratches and keeps it looking brand new.
After hand-tightening, check the alignment of the showerhead. Make sure it’s pointing in the desired direction. If it’s slightly off, adjust it gently. Once you’re satisfied with the position, you can move on to securing it further.
Using Teflon Tape for Added Security
To ensure a watertight seal and prevent leaks, applying Teflon tape is a smart move. Even if the showerhead seems secure, this extra step adds reliability and makes future maintenance easier. Here’s how to do it:
Wrap Teflon tape around the threads of the shower arm before attaching the showerhead. Make sure to wrap it clockwise, following the direction you’ll screw on the showerhead. This prevents the tape from unraveling during installation.
Use three to four wraps of tape. This fills any gaps between the threads, creating a tight seal. High-density Teflon tape works best, as it’s thicker and more effective with less material.
Smooth the tape down with your fingers to ensure it adheres evenly.
Teflon tape doesn’t just stop leaks. It also acts as a lubricant, making it easier to screw the showerhead onto the shower arm securely. Plus, it prevents the threads from getting stuck, so you can easily remove or reinstall the showerhead in the future without damaging the connection.
Once the tape is in place, reattach the showerhead and tighten it again. Use an adjustable wrench for the final turn, but don’t overdo it. Over-tightening can strip the threads or crack the showerhead. A firm but gentle approach works best.
Quick Tip: If you notice any resistance while tightening, stop and check the alignment. Misaligned threads can cause leaks or damage, so it’s better to fix it now than later.
By taking the time to apply Teflon tape and properly secure the showerhead, you’ll enjoy a reliable, leak-free shower setup. This small step goes a long way in ensuring durability and reducing the need for future repairs.
Step 6: Test for Leaks
Turn the Water Supply Back On
Now that everything is installed, it’s time to turn on the water and test your work. Head back to the water supply valve you turned off earlier. Turn the handle counterclockwise to open it. If you shut off the main house supply, make sure all faucets are closed before opening the valve to avoid sudden pressure changes.
Once the water is flowing, go to your shower and turn it on. Let the water run for a minute or two. This helps build pressure in the system and reveals any potential leaks. Keep an eye on the shower connection where the arm meets the wall fitting and where the showerhead attaches to the arm. These are the most common spots for leaks.
Quick Tip: If you notice water dripping or pooling, don’t panic. Most leaks can be fixed with a simple adjustment or by adding more Teflon tape.
Leak testing isn’t just about spotting visible drips. Pressure decay testing is a proven method for detecting leaks in plumbing systems. It measures pressure loss over time, giving you a clear indication of whether your connections are secure. This method is highly effective and non-destructive, ensuring your shower setup remains intact while providing reliable results.
Checking and Adjusting Connections
If you spot a leak, it’s time to troubleshoot. Start by inspecting the shower connection. Is the showerhead screwed on tightly? Did you use enough Teflon tape on the threads? These small details can make a big difference.
Here’s a quick troubleshooting guide to help you fix common issues:
Issue |
Action |
|---|---|
Liquid leaks from the connection part of the flow line |
Retighten the connection part. If retightening doesn’t stop the leak, replace the connection part. |
Liquid leaks from the gap in the high-pressure valve |
Inspect or replace the rotor and stator. |
If retightening doesn’t solve the problem, remove the showerhead or arm and reapply Teflon tape. Wrap the tape smoothly and evenly around the threads, then reinstall the fixture. This creates a tighter seal and often resolves leaks.
Once adjustments are made, turn on the water and test again. Repeat the process until the shower connection is completely leak-free. Taking the time to test for leaks ensures your shower setup works perfectly and saves you from future headaches.
Replacing a shower arm with head is easier than you might think. With just a few tools and the steps in this guide, you can achieve a professional, leak-free result. A high-quality option like the Cobbe DS Filter Shower Head makes the process even simpler while improving water quality. Don’t forget to clean your shower arm with head regularly and check for leaks to keep everything in top shape. These small efforts will ensure your shower stays functional and stylish for years to come.
FAQ
How long does it take to replace a shower arm and head?
It usually takes about 30 minutes to an hour. If you're new to DIY projects, give yourself extra time to follow the steps carefully. Having the right tools ready makes the process quicker.
Do I need special tools to install the Cobbe DS Filter Shower Head?
Nope! The Cobbe DS Filter Shower Head is designed for tool-free installation. You can attach it to most standard shower arms by hand. If needed, use an adjustable wrench for a snug fit.
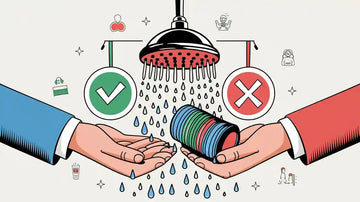
Can I reuse the old Teflon tape on the threads?
It’s better to use fresh Teflon tape. Old tape might not seal properly, leading to leaks. Wrap new tape clockwise around the threads for a secure connection.
What should I do if the shower arm won’t unscrew?
Apply a lubricant like WD-40 to loosen the threads. Wait a few minutes, then try again with an adjustable wrench. If it’s still stuck, use a pipe wrench for extra grip.
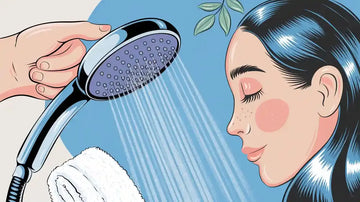
Does the Cobbe DS Filter Shower Head improve water quality?
Absolutely! Its advanced filtration system removes chlorine and heavy metals. This helps protect your skin and hair while giving you cleaner, healthier water during every shower.