Have you ever wished you could rinse off muddy boots, wash your furry friend, or set up a quick shower in your laundry room? Connecting a shower head to a laundry faucet makes these tasks so much easier. You don’t need fancy tools or plumbing skills to get started. With just a few basic items, you can create a handy setup in no time.
Key Takeaways
Collect tools like a shower head, adapter, hose, wrench, and tape. Being ready helps the job go easier.
Pick the correct adapter for your faucet. Measure the size or use a universal one to fit well and stop leaks.
Put plumber's tape on connections to stop leaks. Wrap it around threads for a tight seal and easy removal later.
Tools and Materials for Connecting a Shower Head to a Laundry Faucet
Essential tools and materials
Before starting, gather what you need for the job. Having everything ready makes it easier and quicker. Here’s what you’ll need:
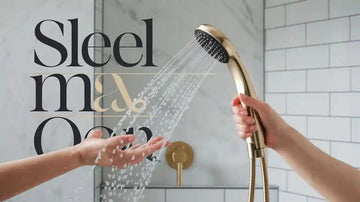
Shower head: Pick a good one like the Cobbe DS Filter Shower Head. It has different spray settings and cleans the water.
Laundry faucet adapter: This small part connects the faucet to the hose. Make sure it fits your faucet.
Hose: A flexible hose links the faucet to the shower head. Choose one that’s strong and easy to use.
Wrench: Tighten the parts securely with this tool.
Plumber’s tape: Wrap it around threads to stop leaks.
Modern showerheads, like the Cobbe DS, are built to last. They don’t clog easily, give steady water flow, and are simple to set up. These features make them perfect for this project.
Why picking the right adapter matters
Laundry faucets aren’t all the same. Some have regular threads, but others need special adapters. Picking the right one is important for a good fit.
Tip: Measure your faucet threads or check the maker’s details before buying an adapter. This helps you avoid problems later.
Adapters come in different sizes and materials, like brass or plastic. Brass ones are stronger and less likely to break. If unsure, a universal adapter works with most faucets.
Extra tools for better results
The basics are enough, but extra tools can make things easier:
Quick-connect fittings: These let you attach or remove the hose fast. Great if you use the faucet for other things.
Hose clamps: These keep the hose secure, especially with strong water pressure.
Portable shower head kits: These kits include adapters, hoses, and showerheads, making setup simple.
Using these extras can improve your setup. Quick-connect fittings save time, and hose clamps stop leaks for a better experience.
Step-by-Step Guide for Connecting a Shower Head to a Laundry Faucet
Step 1: Turn off the water supply and remove the faucet aerator.
Before you start, turn off the water supply to avoid any unexpected splashes. Most laundry faucets have an aerator at the tip, which you’ll need to remove. Use your hand to unscrew it. If it’s stuck, grab a wrench for extra grip. Once removed, clean the threads to ensure a smooth connection later.
Tip: Keep the aerator in a safe spot. You might need it again if you decide to switch back to the original faucet setup.
Step 2: Select and attach the correct adapter to the faucet.
Not all faucets are the same, so choosing the right adapter is crucial. Check the size and type of threads on your faucet. If you’re unsure, a universal adapter is a safe choice. Once you’ve got the right one, screw it onto the faucet by hand. Tighten it gently with a wrench, but don’t overdo it—you don’t want to damage the threads.
Callout: A brass adapter is a great option for durability. It’s less likely to crack or wear out over time.
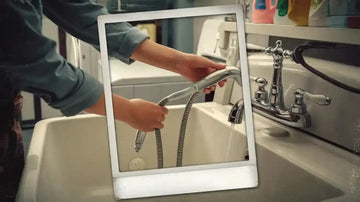
Step 3: Securely connect the shower head or hose to the adapter.
Now it’s time to connect the hose to the adapter. Screw one end of the hose onto the adapter and the other end onto the shower head. Make sure both ends are tight. If you’re using a shower head like the Cobbe DS Filter Shower Head, you’ll enjoy its easy installation and multiple spray modes.
Here’s a quick checklist to ensure a secure connection:
Wrap plumber’s tape around the threads before attaching the hose.
Screw the shower arm into the adapter firmly.
Slide the flange over the arm and thread on the shower head.
Note: After connecting everything, double-check that the hose and shower head are aligned properly. This prevents unnecessary strain on the hose.
Step 4: Use plumber’s tape to ensure a leak-free connection.
Plumber’s tape is your best friend when it comes to preventing leaks. Wrap it around the threads of the faucet and the hose connection. Use two to three layers for a snug fit. This tape creates a watertight seal and also makes it easier to unscrew the parts later if needed.
Why plumber’s tape matters:
It seals and lubricates pipe threads.
Reduces the risk of leaks.
Ensures a tight fit without sticking like adhesive tape.
Step 5: Test the setup by turning on the water and checking for leaks.
Once everything is connected, it’s time to test your work. Turn on the water supply slowly and check for leaks around the adapter, hose, and shower head. If you spot any drips, tighten the connections or add more plumber’s tape.
For a thorough test, follow these steps:
Attach a water pressure gauge to the faucet to measure the pressure.
Turn on the faucet and check the reading.
Close all valves and monitor the pressure for an hour. If it drops significantly, there might be a leak.
Pro Tip: If you’re using a high-pressure shower head like the Cobbe DS, make sure the hose is securely clamped to handle the water flow.
By following these instructions, you’ll have a functional setup in no time. Whether you’re rinsing off muddy shoes or giving your pet a bath, this connection will make your life easier.
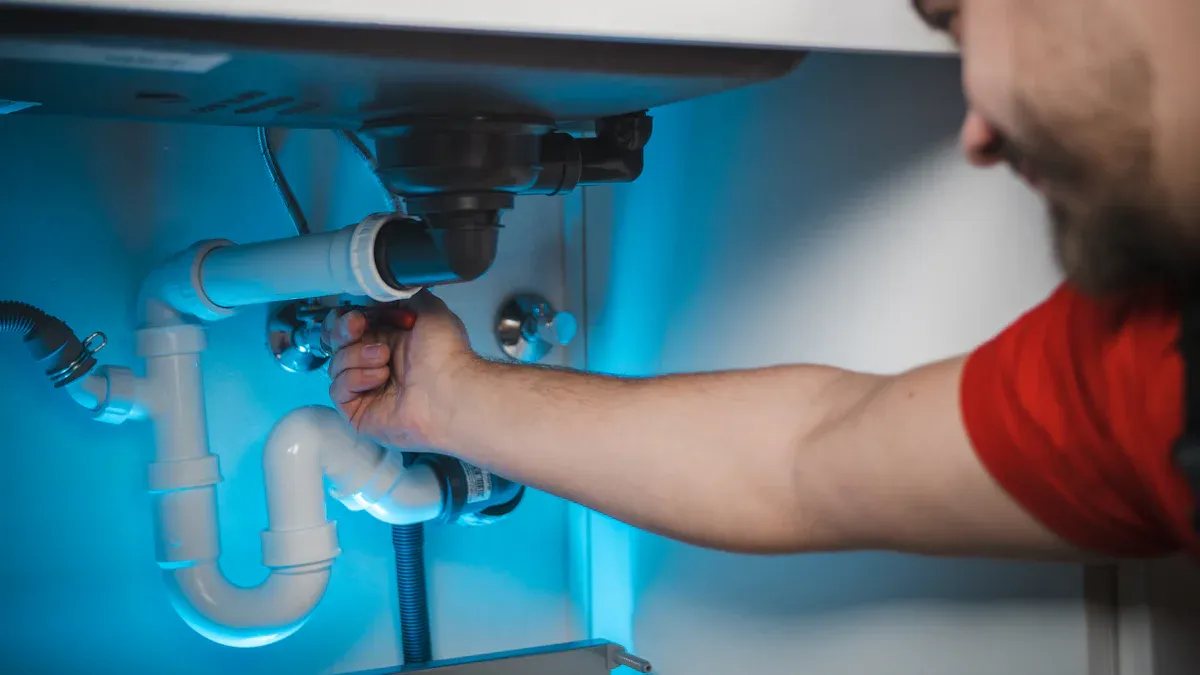
Troubleshooting and Alternative Methods
Common problems and how to fix them
Sometimes, setting up your shower connection doesn’t go smoothly. Here are some common issues and simple fixes:
Leaks: If water drips, check for leaks again. Add plumber’s tape to the threads and tighten the parts.
Wrong adapters: Some adapters don’t fit all faucets. Use a universal adapter if yours doesn’t work. It fits most faucet types.
Low water pressure: A clogged shower head or hose can slow water flow. Clean the shower head and check the hose for blockages.
Tip: Always test your setup after fixing it. This ensures everything works properly.
Using a universal adapter for unusual faucets
If your faucet has odd threads, a universal adapter can help. These adapters fit most faucets and are easy to install. Choose one made of strong materials like brass. It lasts longer and handles water pressure well.
Pro Tip: Measure your faucet threads before buying an adapter. This helps you pick the right size and avoid returns.
Trying portable shower head kits as another option
Portable shower head kits are a simple all-in-one choice. They include an adapter, hose, and shower head. These kits are great for temporary setups or if you don’t want to buy separate parts.
Here’s how different people use these kits:
Benefit |
Who It Helps |
|---|---|
People with mobility issues |
|
Helps caregivers bathe others |
Caregivers |
Simplifies bathing for kids |
Parents |
Makes pet washing easier |
Pet owners |
Helps clean the shower area |
General users |
Portable kits are super handy. Whether washing pets or cleaning, they make tasks easier and faster.
Hooking up a shower head to your laundry faucet is easy if you follow the steps. Use good tools, like a high-quality shower head, and check for leaks often. To keep it working smoothly:
Pick nozzles designed to work efficiently.
Clean the shower head often to stop clogs.
Check and tighten connections regularly.
Tip: Budget-friendly choices, like Niagara shower heads, offer strong pressure and save water.
Taking care of your setup means it will work well and last longer!
FAQ
How do I know if my faucet needs an adapter?
Check the threads on your faucet. If the hose doesn’t fit directly, you’ll need an adapter. Universal adapters work for most faucets.
Can I use any shower head for this setup?
Yes, but choose one with easy installation and good water pressure. The Cobbe DS Filter Shower Head is a great option for its versatility and filtration.
What should I do if the connection leaks?
Wrap plumber’s tape around the threads. Tighten the connections securely. If it still leaks, check for damaged parts and replace them if needed.
Tip: Always test your setup after making adjustments to ensure everything works perfectly.